


The process of installing wallpaper requires skill and precision, but it is not something that you can not do yourself. If you think you have always been successful in technical work and the result of what you did was satisfactory, then do not procrastinate.
However, we suggest that you seek the help of an expert installer, especially if the wallpaper you have purchased is expensive.
To install wallpaper, they use water-based adhesives that not only do not smell but also dry in a short time. Protruding adhesives can be easily removed from the seams of wallpaper with a damp sponge or cloud. So do not worry too much, if you do the steps of installing the wallpaper correctly and take care of your work, everything will go well. The video below can give you a good idea to start with.
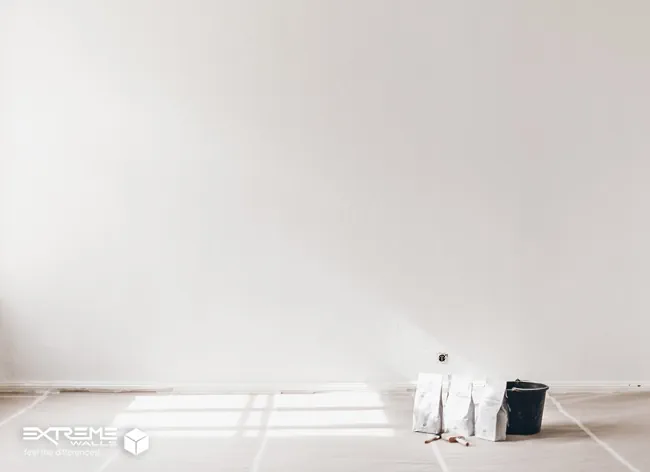
Equipment needed to go through the process of installing wallpaper
Now that you want to wallpaper the walls of your house yourself, you will need these tools:
- Selected and purchased wallpaper roll.
- Carpet razor or cutter
- Plastic spatula
- Glue stick
- Adhesive for wallpaper
- Painting brush or roller
- desk

Provide the necessary equipment
You can buy wallpaper rolls from decoration stores, you can buy other accessories from hardware stores at reasonable prices. Of course, you can also get wallpaper glue and wood glue from paint shops. Wallpaper rolls are available in widths of 50 cm, 70 cm and also 1 m. The price of wallpaper also varies according to the quality of the paper, the material and the country of manufacture.

Instead of a desk, you can use a large table at home, such as a dining table, and instead of a long ruler, use a ruler-like device that is long, you just need to make sure that the device is perfectly flat.
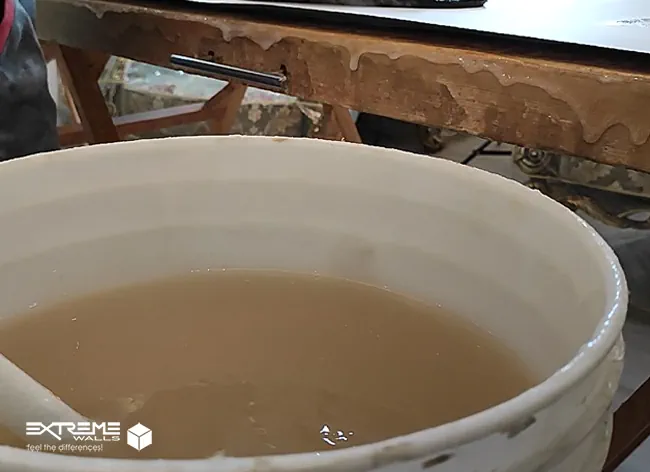
Wallpaper glue is a kind of powder similar to plaster. This powder is mixed with a proportion of water and wood glue to make it usable. The quality of the wallpaper adhesive is important. Try to get a good type of it so that you do not have any problems during installation. Proportion is also effective in its composition and manner. The method used by some professional installers is to place a drill with a butterfly-like series on the drill and insert it into the adhesive container, and when the electric drill is turned on (just like a kitchen mixer), all the ingredients are mixed Mixes smoothly at high speed. This allows the adhesive to blend well and less air bubbles remain during the wallpaper installation process.
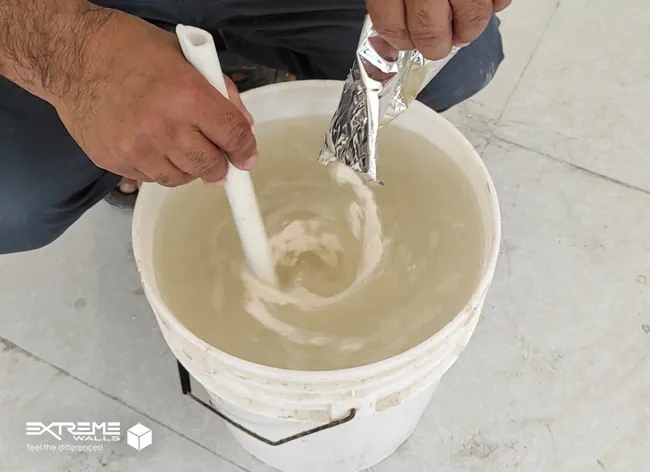
It is better to find a way to mix the mixture evenly at home and apply it.
A few tips before installing wallpaper
Here are some tips to help you get the most out of your wallpaper. For example, if you start gluing wallpaper without checking the wall, the wallpaper may be damaged or detached from the wall after a short time due to not performing the non-sticking step. Here are some key pointers in moving forward.

Wall material
The material of the wall is effective in how the wallpaper sticks to its surface. For example: Wallpapers are well installed on gypsum walls. On the other hand, wooden and cement walls have less adhesion to their surface in terms of accepting wallpaper.
Moisture and wall moisture
After you have prepared the necessary equipment for installing the wallpaper, we need to check the desired surface and build it. If the wall you want to wallpaper has moisture and dampness, in addition to removing the damp, you must find the reason for the dampness and dampness of the wall and solve it. Because the constant dampness and humidity will definitely cause problems with the installed wallpaper.
Remove any part of the wall that is swollen and damp with a metal spatula. Keep doing this for a few centimeters, until all the wet plaster on the wall has come off and you reach the part where the dampness started exactly. Solve the problem and the source of moisture and then plaster the wall again. Of course, we suggest that you seek the help of an expert in this field in the field of removing moisture and dampness of the wall. Because he certainly has more experience in this area than you, and at least after installing the wallpaper, if the wall is damp and affects the wallpaper, you do not have to repeat these steps again.
Check the wall for cracks and gaps and fix it
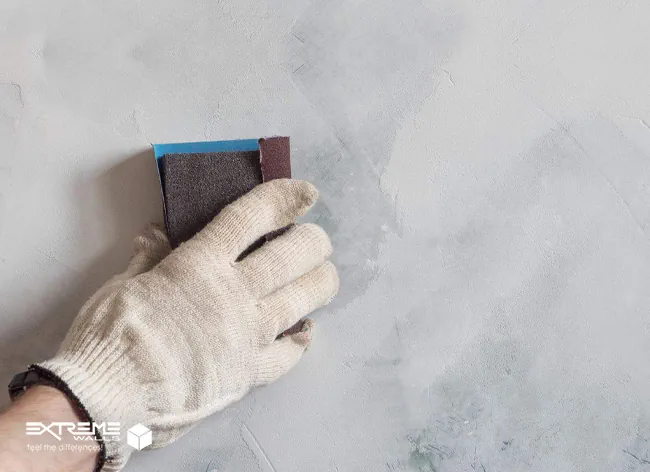
Well, we assume that the dampness of the wall has completely disappeared and the plaster of the wall has also dried. The next step in the installation of wallpaper is to check the wall for cracks, small cracks and nails. These small cracks are difficult to see with the naked eye, but if you want the result to be clean and smooth, you must fix these as well. Usually these cracks also occurred in the corners and next to the switches and sockets, the edges of the window. You can use putty to solve this problem. First, make a deeper gap in the seams and cracks with a sharp spatula so that the putty can penetrate completely into it.
The putty used by professional installers can be knauf plaster with water and some wallpaper glue. For large cracks, some flour is added to the mixture. To dry sooner.
Primer for substructure
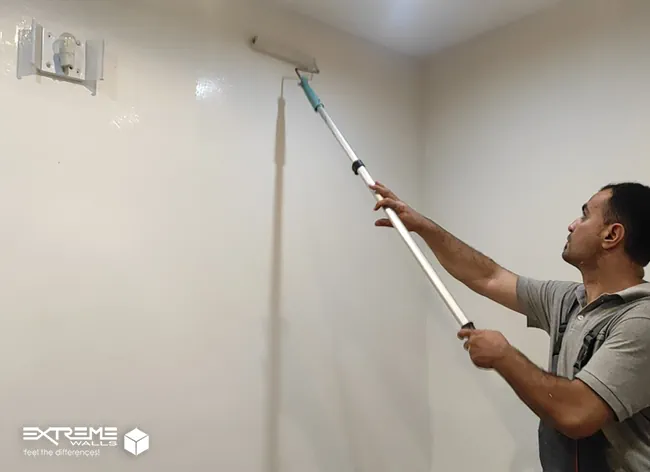
Newly plastered areas should be coated with fiber oil or primer oil. If your wall was made of plaster from the beginning and was not painted, it is necessary to lubricate the entire surface of the wall.
In some thin-walled wallpapers, the surface may be visible, especially in areas where the putty has been applied. If it is important for you not to see it, apply a thin layer of oil paint on the wall to make the wall color uniform. If not, the next step is to start the installation on the wall with a dilute solution of wallpaper glue.
Do this quickly and with a large brush as it removes any dust on the wall and makes the wallpaper installation stronger and stronger. If you want to paint the doors, windows as well as the ceiling, be sure to do this before installing the wallpaper, because after installing the wallpaper, the paint may be sprayed on the wallpaper.
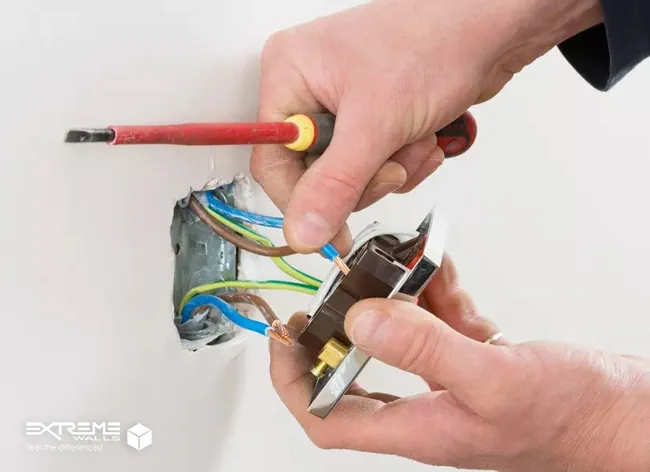
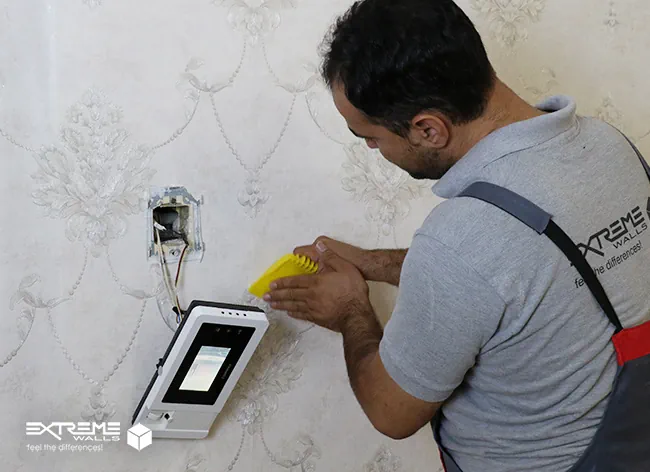
Disconnect switches and sockets
The next step you need to do is remove the switches and sockets from the wall. You do not need to remove the radiators from the wall, sealing and reconnecting the radiator to the wall is time consuming and relatively difficult. So with just a tool like a tee or a long stick, you can slide and paste the wallpaper behind the boiler during installation. Unless there is a gap between the wall and the radiator. Some radiators are mounted to the wall at a sufficient distance that you can also stick the wallpaper to the wall by hand.
Do not forget to turn off the electricity in the room.
How to install and prepare wallpaper
Installing wallpaper may seem easy, but it has some tricks that require a professional installer. You can do this by studying the methods of cutting, measuring and gluing your own wallpaper.
But until you become a professional, leave the cutting of the rolls to a professional installer. Because like any other job, it requires previous practical experience.
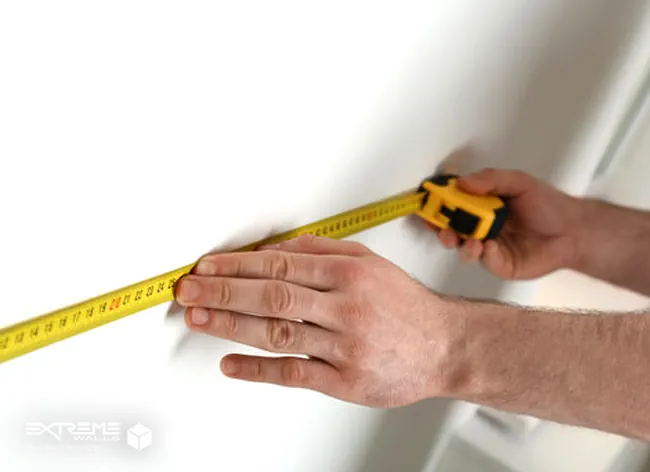
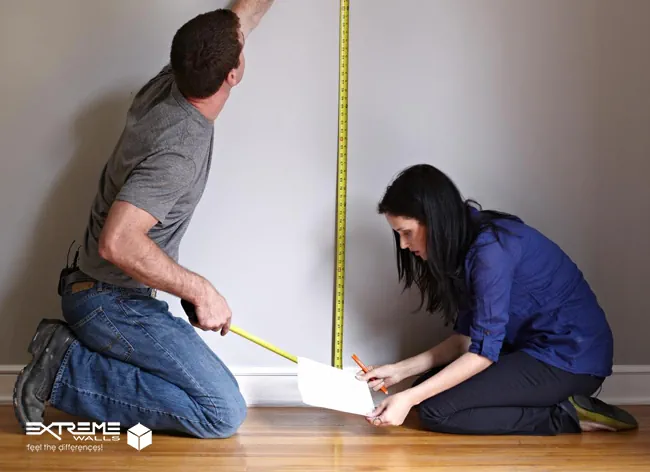
Measure the height of the wall
You should be aware of the height of the wall when starting the installation operation. When buying wallpaper, an important issue that affects the price of wallpaper is the number of rolls of wallpaper. The number of rolls also depends on the dimensions of the wall. Before cutting wallpapers based on wall height, you should make sure that all wallpapers that are placed on the same side of the wall or at the same angle of view have the same construction serial number or BATCH No. This number, which is written on each roll of wallpaper, is provided by the factory itself to match the color of the wallpaper. Because their colors may differ slightly in the production process.
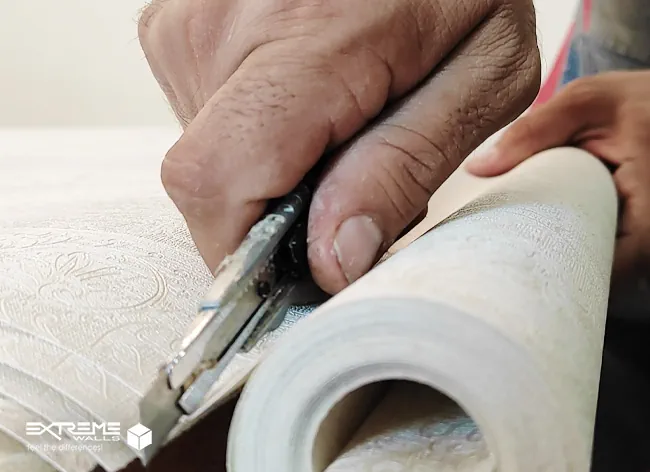
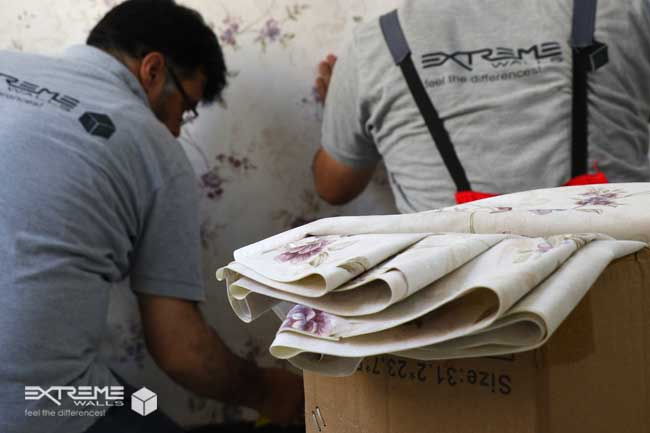
Cut wallpaper
Now spread the wallpaper on the work table or dining table. Cut the first piece of wallpaper 5 cm larger than the wall. Then the next slab should be cut according to the role and design of the previous slab. So that you may lose, for example, 50 to 60 cm from the roll of wallpaper for the next piece of paper. The design of each piece of wallpaper should match the previous and next design. Then we cut them in the same order so that the order is not forgotten.
How to paste wallpaper
After we have cut the required number of tiles from each roll of wallpaper, we will stick the glue to the back of the wallpaper in the same way. Start from the middle of the wallpaper and draw the brush towards the edges of the wallpaper. Consider applying less glue to the edges. To prevent the glue from drying out quickly, we put the two glued sides of the wallpaper on top of each other.
Start the first installation of wallpaper from the corner and install its edges on the wall according to the vertical line. Because you can not trust the verticality of all the corners of the wall. The first wallpaper to be installed vertically The rest of the wallpaper is installed vertically and regularly.
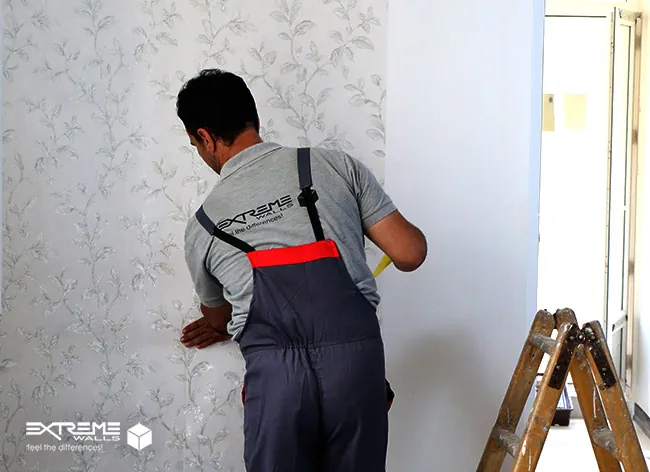
Install the glued wallpaper from the top of the wall to the bottom of the wall. Open the top side of the wallpaper and start from the top of the wall. When gluing the top of the wall, the bottom of the bottom of the wallpaper is still facing inwards so that the glue does not dry out.
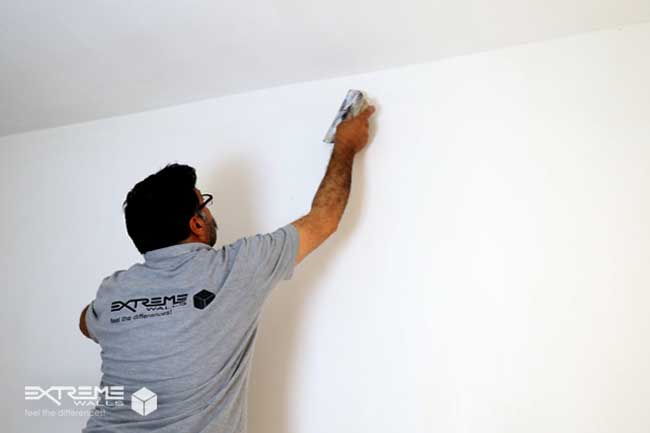
After gluing the wallpaper to the wall, open the bottom and the bottom and stick the bottom of the wallpaper to the wall, then with a plastic spatula try to pull the glue from the middle of the wallpaper to the edges of the wallpaper and fasten the wallpaper to the wall.
Wallpaper bubbles and wrinkles
Try to smooth out any wrinkles with a plastic brush and spatula. Using a spatula or metal ruler and cutter, cut the extra parts on the ceiling or floor. Parts such as sockets and corners can be cut on the wall there.
Note that the glued wallpaper should not be left on for more than 15 minutes, otherwise it will dry out and the glue will stretch and can not be used.
The same procedure is repeated for each roll of wallpaper and its installation on the wall. After installing the wallpaper completely, avoid manipulating it on the wall. Do not worry about bubbles forming under the wallpaper. This usually goes away within a few hours or until the glue dries completely.
Replace wallpaper glue
Unfortunately, many novice installers use wood glue for wallpaper, as the name implies. Wood glue should be used for wood. We have to say that maybe wood glue can be used for wallpaper; But it will definitely cause problems for the paper and the wall in the future, causing the paper to become brittle and damage the wall when we try to separate the paper from the wall.
We conclude that there is no alternative to wallpaper glue, and it is better to use the different types of wallpaper glue that we will mention in later magazines, depending on their application.
Tip: If after you have installed the wallpaper and the edges were open in some of the edges of the wallpaper, you can carefully wet the edges a little and stick them together with some wallpaper glue and a tube of wood glue.
Important points on how to install wallpaper
One of the key points of installing wallpaper is to prepare the wall, the so-called wall substructure. Substructure is the repair and removal of any damage to the wall, including: holes, scratches, cracks and damp drums so that the entire surface of the wall is smooth and even.

Wallpaper feature
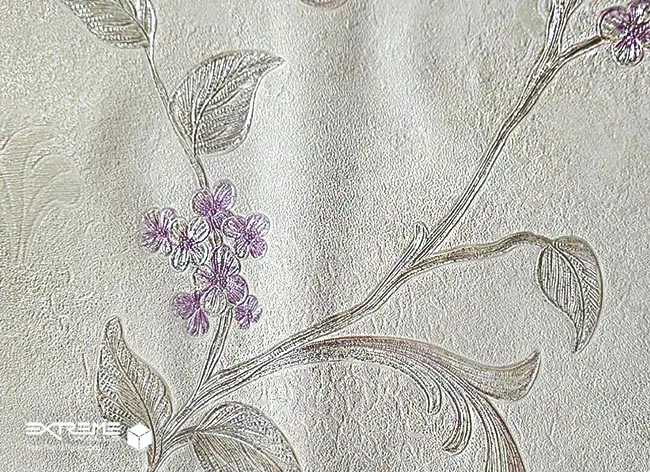
There are several types of wallpapers on the market that have their own characteristics. An important feature in buying wallpaper is that it is washable and non-washable. Non-washable wallpapers should only be used in environments and rooms that are completely dry. Washable wallpapers are fully moisture resistant and washable. Because there is a protective layer of vinyl, which is the same as PVC, on its design. This layer increases the resistance of wallpaper to moisture, washing and abrasion. This does not mean that you can grab the water hose to the surface of the wall and wash it regularly.
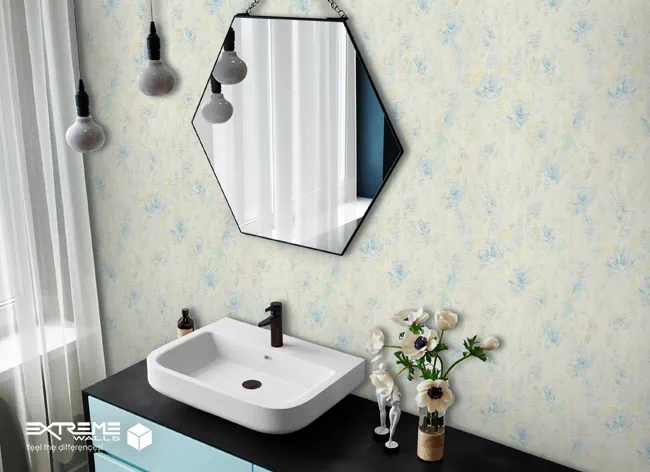
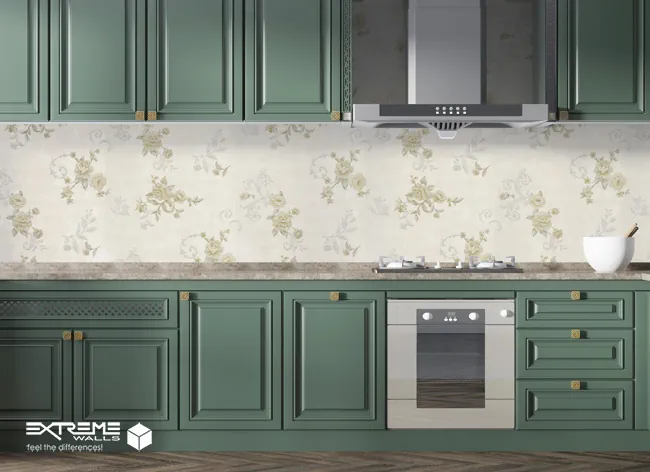
In any case, the adhesive of the wallpaper is not very resistant to water, and when it weakens, the washable wallpaper will be removed from the wall, even if the wallpaper itself comes down properly and safely. Therefore, wallpaper is not recommended at all for the basement space and where it is exposed to direct and constant water. You can only install washable wallpaper that you are sure of quality and is 100% guaranteed by the manufacturer for spaces such as: locker rooms or toilets that have less moisture. You can also use washable wallpaper for the area between the kitchen cabinets and the walls that are not constantly washed.
Wall dimensions
Walls that are small in length and height may not show the desired design well. Because the designs must be well placed together to be able to show a beautiful overview.
Basically, wallpaper designs are offered in duplicate. These designs are coordinated in the corners of the wallpaper roll along with the continuation of their design. In large designs, several rolls need to be placed next to each other to show their appearance and design. That is why for small spaces and rooms, small designs and for large designs, wide and high walls are definitely better.

Start working from the corners of the wall
This will complete the first role you play. But if the wallpaper you are using has a large design, start using it from a focal point such as a fireplace and work your way to the corners. This way you can maintain the symmetry between the designs.

Where and how to install wallpaper
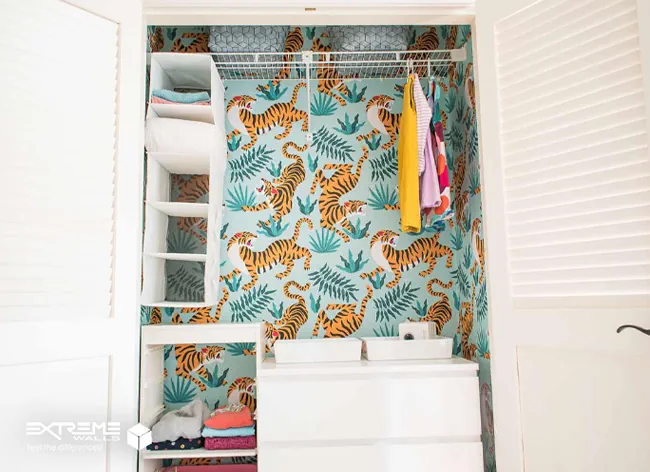
Wallpaper is used for walls and ceilings, which are the most common parts in installing wallpaper in home decoration. However, the use of wallpaper also applies to other parts of the house. The pillars of the building, on the doors, window frames, cabinets and cupboards, are also inside the library.
Measure the required height
Another important point of installing wallpaper is that when you want to measure the height of the wallpaper, add one to two centimeters from the top and bottom. Also, to prevent the wallpaper design from getting messy, be sure to check the placement of the designs and then apply it to the wall. Mark the part that should be high on the wallpaper.
How to installing wallpaper with glue
Glue the back of the wallpaper to the wall from above. Then, using a spatula or brush, pull the air under the wallpaper toward the corners and pull it out. Do the same for the bottom of the wallpaper. Then cut the remaining additions from the top and bottom of the wallpaper. Using a spatula again, remove the excess glue underneath and wipe. Do the same for the other sections of the wallpaper and pay attention to the layout of the designs next to each other.
Hire a professional installer to installing the wallpaper
It may cost you a fortune to install wallpaper for a professional installer, but it will certainly be worth it. Hiring a skilled and experienced installer to install the wallpaper will ensure that the wallpaper is installed correctly and the walls are not damaged. With the help of a professional installer, you will be happy with your right decision later when you remove the wallpaper from the wall, because you will not get in trouble. However, if you want to do the installation yourself, it is best to get complete information before taking action.
Try to use a suitable glue to install the wallpaper. Get help from a guide and also pay attention to the type of walls of the house so that no problem arises.


No comment